以前、Lenovo公式からダウンロードしてリカバリーメディアを作成する手順を解説しましたが、今回は作成したリカバリーメディアを使ってシステムの復元をする方法です。
ここまでがセットです。
ThinkPad E495やThinkCentre M75q-1 Tinyにはリカバリーメディアが付属しません。 ですが、公式からダウンロードすることでリカバリ…
decoy284.net
作成したリカバリーメディアでシステムの復元をする
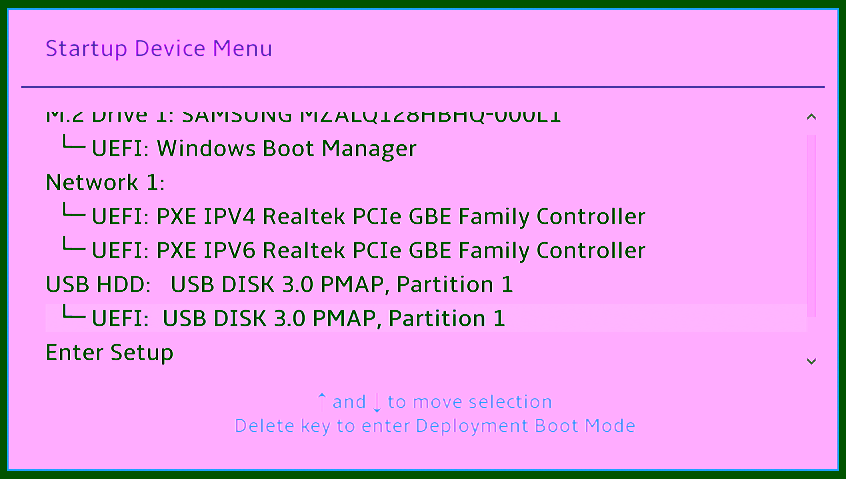
PCの電源を入れてF12キーを連打するとこのように起動ドライブ選択の画面になるので、リカバリーメディアを選択してエンターキーを押します。

再起動し、こんな画面になります。
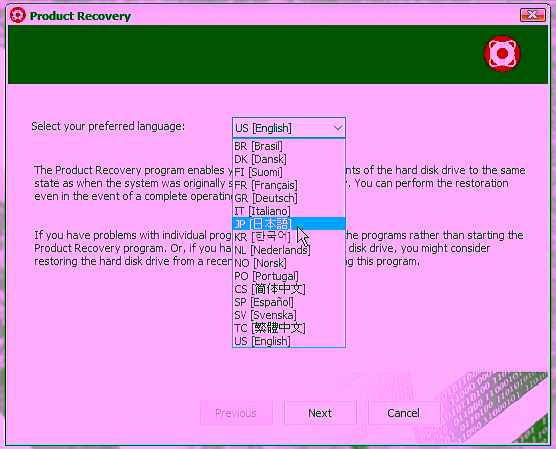
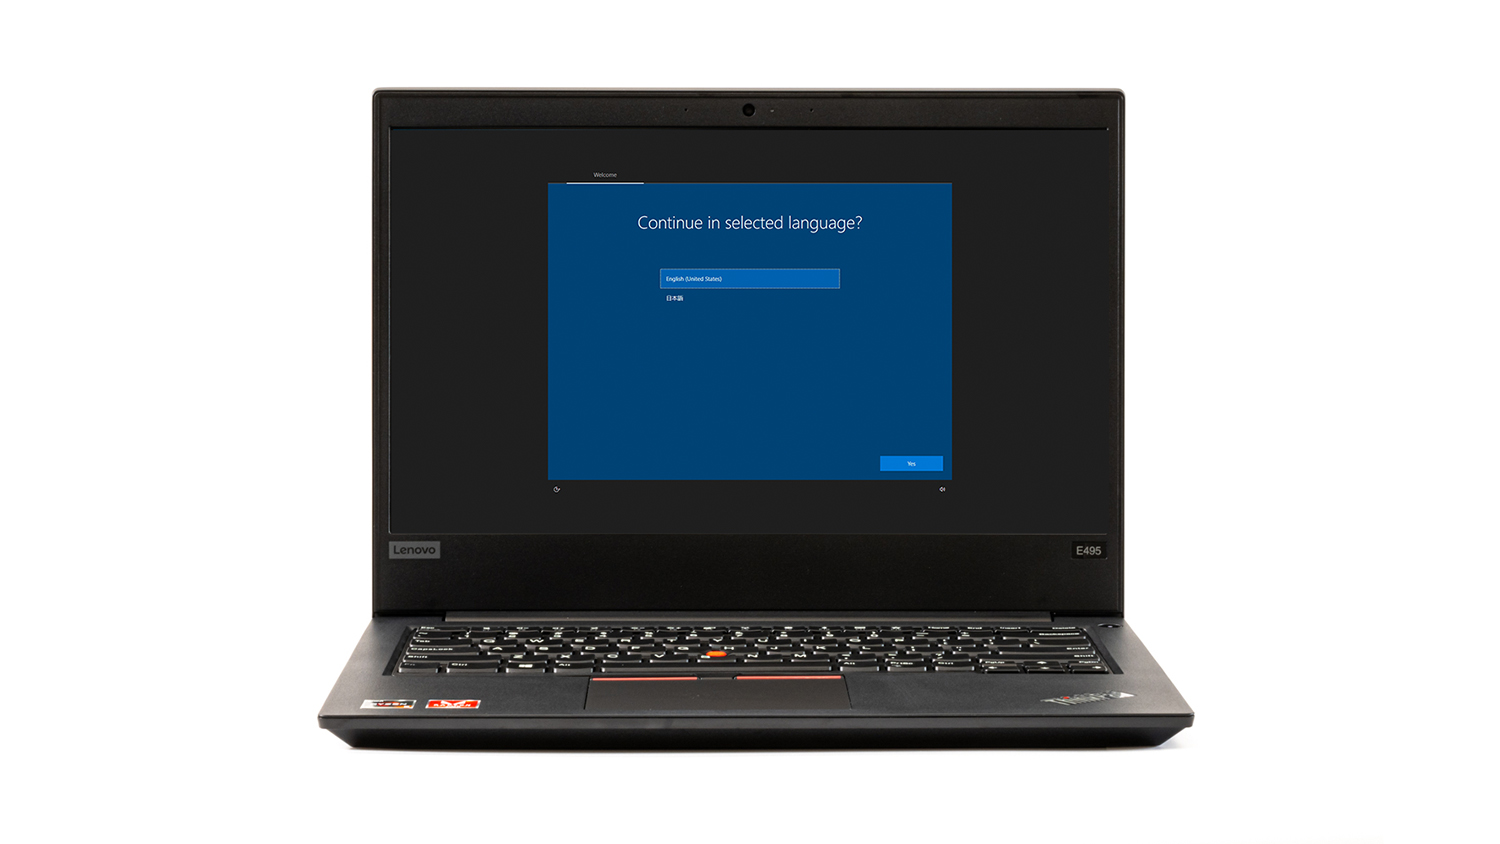
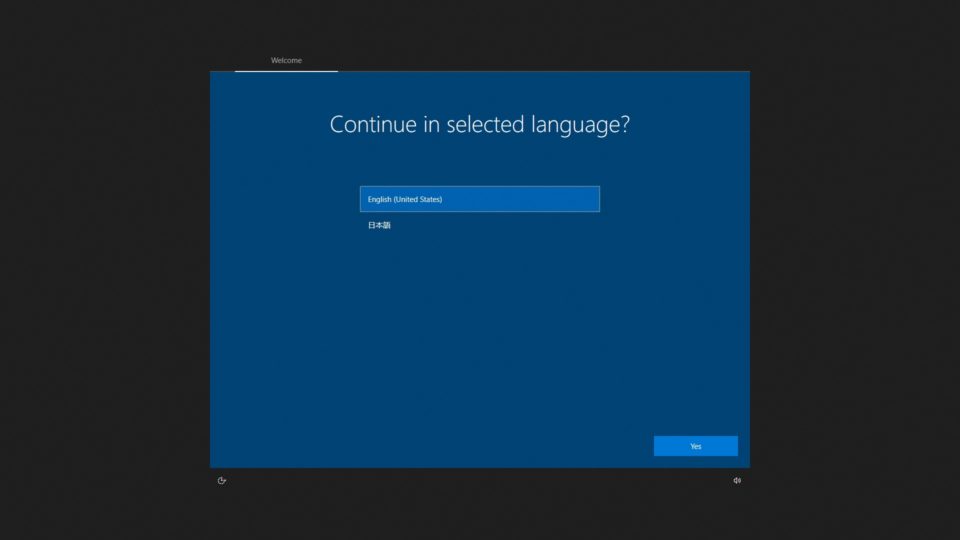
言語を選択します。

言語を選んだら「次へ」をクリック。
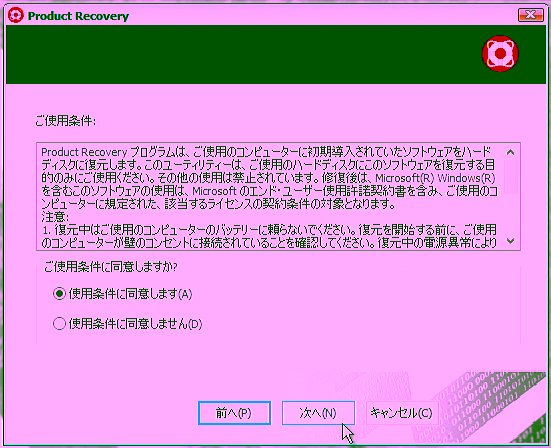
使用条件に同意して「次へ」をクリック。

「はい」をクリックすると、工場出荷状態へ復元されます。消えては困るデータ等がなければそのまま「はい」をクリック。

システムの復元が始まりました。
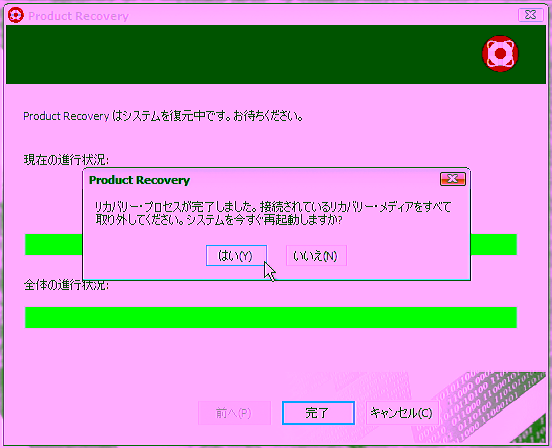
リカバリープロセスが完了しました。リカバリーメディアを取り外して「はい」をクリック。
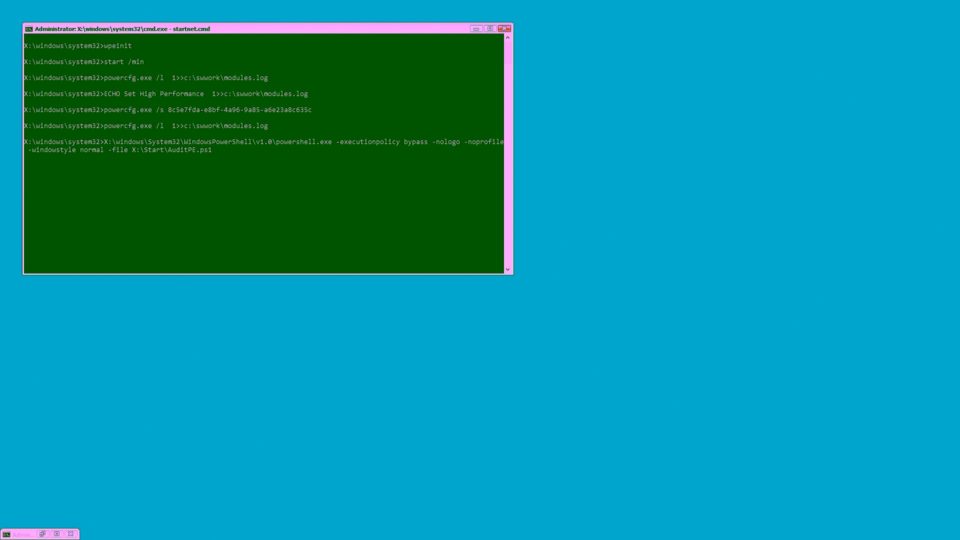
いろいろ処理が走ります。
とにかく待ちます。
待ちます。
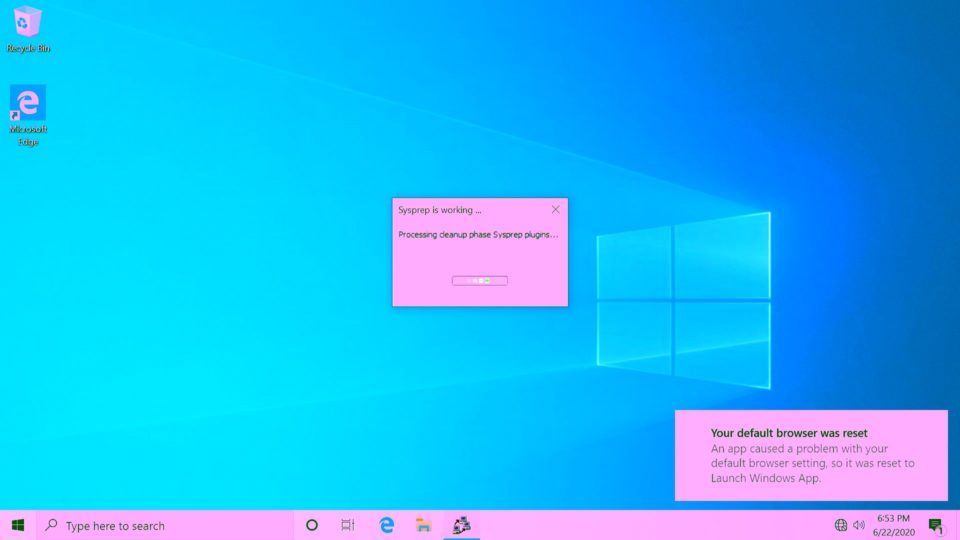
30分くらいかかってWindowsのセットアップ画面が現れました。ここからセットアップをしていけばOKです。
この後初期セットアップ編へと続く予定です。
ThinkPad E495やThinkCentre M75q-1 Tinyにはリカバリーメディアが付属しません。 ですが、公式からダウンロードすることでリカバリ…
decoy284.net